
Cycling Arm Rests: How to Build a High-Hands TT Position That Actually Works
I tried counting how many times I’ve rebuilt the aerobar cockpit on my Giant Trinity over the last six years. I lose track somewhere around six or seven.
Every rebuild followed the same pattern:
- Found a new “aero hack” on Slowtwitch or Reddit
- Ordered another shim or spacer
- Tore the cockpit apart
- Rode it for two weeks
- Discovered a new problem
Angle more.
Angle less.
Go longer.
Go shorter.
Shim the cups.
Shim the whole system.
If you’re reading this, you’re probably somewhere in that same loop. Trying to get a modern high-hands position out of a cockpit that was never designed for it.
This article is meant to short-circuit that process by explaining, step by step, how cycling arm rests, shims, and extension angles actually work together, and how to avoid the most common discomfort traps.
The Role of Cockpits & Cycling Arm Rests in a High-Hands Position
- Before touching extensions, poles, or arm rests, you need to understand one thing:
The cockpit is the foundation of the position.
If your cockpit is wrong, everything downstream gets worse.
A functional setup must:
- Support load through the forearms
- Keep elbows stable under braking and cornering
- Allow hand height changes without forcing wrist extension
This is why simply tilting extensions upward, without addressing the arm rests, almost always leads to discomfort.
The Core Rule Here
If you raise or tilt the extensions, the arm rests must follow, either in height or angle.
Ignoring this rule is the fastest way to:
- Load your wrists
- Increase hand pressure
- Lose stability
- Hate your position after 20 minutes
This is where arm cup shims come in.
Method 1: Angled Arm Cup Shims + Angled Extensions
(The most effective budget setup)

This is the setup you see most often in UK time trials and club-level fast riders internationally. It works because it respects structure.
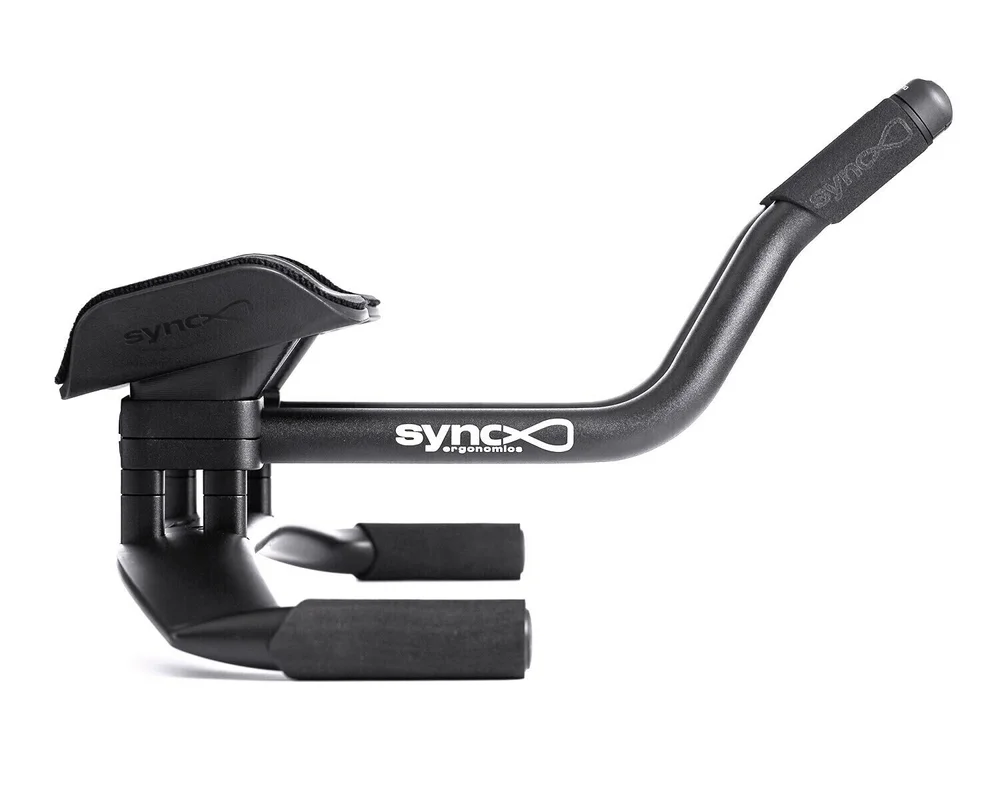
What you need
- Cycling arm rests
- Angled shims
- Moderate-to-high rise or ski-bend extensions
-
Enough adjustability in pad fore–aft and width
How to build it (step by step)
-
Install angled shims under the arm cups first
This sets the forearm plane. Your forearms should already feel supported before touching the extensions. -
Set pad height and reach
Elbows should sit naturally in the cups without sliding forwards or backwards under load or when powering out an effort. -
Match extension angle to forearm angle
The extensions should meet your hands, not force your hands either upwards or downward. -
Check wrist neutrality
You should be able to lightly open your fingers without collapsing.
If the arm cups are flat and the extensions are heavily angled, you will feel it immediately, usually in the wrists or shoulders.
This system is:
- Cheap
- Adjustable
- Extremely effective
- The easiest upgrade from bad factory cockpits
Factory Cockpits: Why Many Bikes Fight You
If you bought a TT or triathlon bike complete, there’s a good chance the cockpit is the limiting factor.
Older systems like the Pro Missile TT cockpit (seen on earlier Scott Plasma generations) are notorious for this. Helping friends make those cockpits work often required:
- New clamps
- Custom shims
- Cutting extensions
- Drilling Di2 exits
Some bikes simply cannot reach a modern position without serious investment.
General truth:
A lot of factory cockpits were designed before high-hands positions became normal. It’s still possible to convert them, but make sure it’s actually worth it, rather than swapping to a more compatible bike.
Method 2: Angling the Entire System (Arm Rests + Extensions Together)

Instead of tilting just the extensions, this method tilts:
- Pole clamps
- Extensions
- Cycling arm rests
…as one unit.
What you need
- An angled base or wedge system
- Straight or mildly bent extensions
- Arm rests with good forearm surface area
Why this works
- Forearm and hand relationship stays constant
- Wrist neutrality is easier to maintain
- Much wider choice of extension shapes
This is the approach used by riders like Filippo Ganna early in his TT career, before fully custom integrated systems took over.
It’s slightly more complex mechanically, but:
- Easier to fit precisely
- Cleaner structurally
- Less sensitive to small angle changes
The downside is availability, as good angled systems aren’t cheap or easy to find.
Method 3: Full Integrated Aero Cockpits

If budget is not the constraint, integrated systems exist for a reason.
They combine:
- Pole clamp
- Extensions
- Cycling arm rests
- Forearm support
into one coherent structure.
Why they work so well
- Load is distributed along the forearm
- Wrist pressure is minimal
- Stability in crosswinds is better
- Adjustability is often greater, not less
The catch is cost. Realistically:
- €1000–2000 once adapters and finishing kit are included
For competitive racing, this is often unavoidable, there’s simply such a big performance gain to be found here, not just in positioning but also aero, but it’s still overkill for many and most riders.
Common Mistakes to Avoid (Learned the Hard Way)
- Tilting extensions without angling arm rests
- Chasing height instead of support
- Ignoring cockpit compatibility before buying parts
- Copying pro photos without matching structure
A good position should feel:
- Calm
- Stable
- Almost boring, because it supports so well, that it’s not hard to maintain
If it feels too aggressive and tense, something is wrong.
Bonus: Clip-Ons and Road Bikes
If you don’t have a TT bike:
- Clip-on aerobars are still a great entry point
- The same arm rest + extension logic applies
- Integrated systems are harder, but not impossible, to mount
For many riders, clip-ons are the smartest way to experiment before committing to a full TT setup.
Final Takeaway
If you build the arm rest structure correctly:
- Hand height becomes easy
- Comfort improves
- Adjustments make sense
If you don’t, no amount of extension angle will save you.
If you’re rebuilding your cockpit again, slow down and start with the arm rests and extensions. Get those right, and everything else falls into place.
Happy riding
-Kev